Please note that we cannot accept Microsoft Word documents unless we are laying out the text for you. These must be laid out exactly as you would expect the final book to look and then turned into print-ready PDFs before being sent to us.
Creating print-ready PDFs using Word 365:
1. Produce a Word document as usual;
2. Select ‘Save As’ and choose document type ‘PDF’
3. In the ‘Save’ window, select ‘Options’
4. Under ‘PDF Options’ tick the boxes next to ‘PDF/A compliant’ and, if your document contains images, ‘Optimize image quality’
5. Select ‘OK’ to close the window and then ‘Save’
Creating print-ready PDFs using Word 2016:
1. When you are ready to make your Word document into a print ready PDF then go to ‘File’ then ‘Print’ and pick ‘Microsoft Print to PDF’ from the list of printers shown.
2. Simply press ‘Print’ and choose where you are going to save your document on your computer.
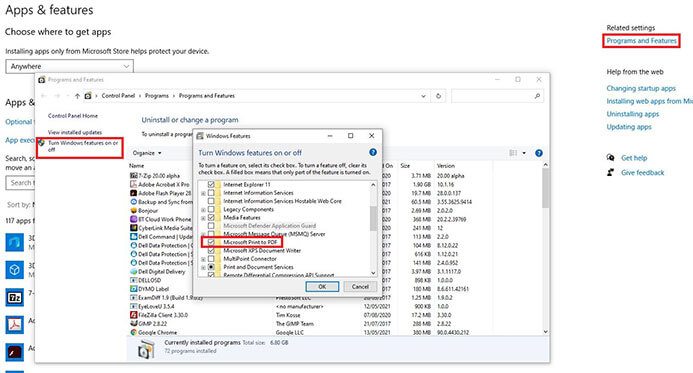
If the ‘Microsoft Print to PDF’ is not listed then you can install it by right clicking on ‘Start’ (bottom left on your screen) and choose ‘Apps and Features’ at the top of the list (Windows 10). Then on the right hand side of the screen click on ‘Programs and Features’. In the box that pops up click on ‘Turn Windows features on or off’ (top right). In the next box that pops up scroll down to ‘Microsoft Print to PDF’ and tick in the box to the left of it and then click OK. Next time you open Word you should see ‘Microsoft Print to PDF’ in the list of printers.

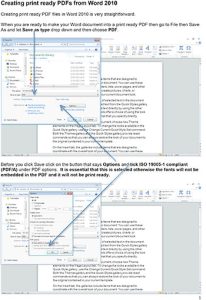
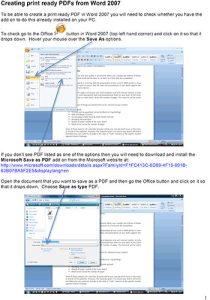
Click on the images below to read our handy guides on how to save your Word document as print-ready PDFs using Word 2010 and Word 2007.
If you have any questions then please contact us and we will be pleased to help you.


